
See Prerequisites.
Experience the power of modular databases in under 2 minutes. You'll install a pre-built database module from npm and deploy it to Postgres—no SQL writing required. This is your first taste of modular database development.
What You'll Build
By the end of this lesson, you'll have a working Postgres database with UUID generation capabilities, deployed using pgpm's module system. This demonstrates how pgpm modules work like npm packages—install, deploy, done.
Step 1: Create a Workspace
Create a directory for your project:
pgpm prompts for a workspace name:
This creates a complete workspace structure with everything you need.
Step 2: Create Your First Module
Change directory to your workspace:
Initialize a module inside your workspace:
Answer the prompt:
That's it—pgpm init scaffolds a module with no extensions by default (add them later with pgpm extension, or up front with pgpm init --extensions a,b). pgpm scaffolds a complete module structure:
Step 3: Install a Database Module
Navigate to your module and install a pre-built database module:
pgpm downloads the module from npm and installs it into your workspace's extensions/ directory.
Your module's package.json is automatically updated with the dependency.
Step 4: Deploy to Postgres
Deploy to a new database (pgpm will create it for you):
Note: Make sure Docker Desktop is running before deploying.
pgpm deploys the UUID module to your database. You'll see output like:
Step 5: Verify It Works
Test the deployed faker schema and its tables and functions:
Query the faker.cities table to see sample city data:
You should see a row:
Test the faker.business() function to generate a random business name:
What Just Happened?
In under 2 minutes, you:
- Created a workspace - A modular project structure for database packages
- Initialized a module - Your database package
- Installed a dependency - A pre-built database module from npm
- Deployed to Postgres - With automatic dependency resolution
- Verified functionality - UUID generation working instantly
This workflow demonstrates the core philosophy of modular databases: database development should be as modular and productive as frontend development. You didn't write SQL, configure migrations, or manually track dependencies. pgpm handled the infrastructure.
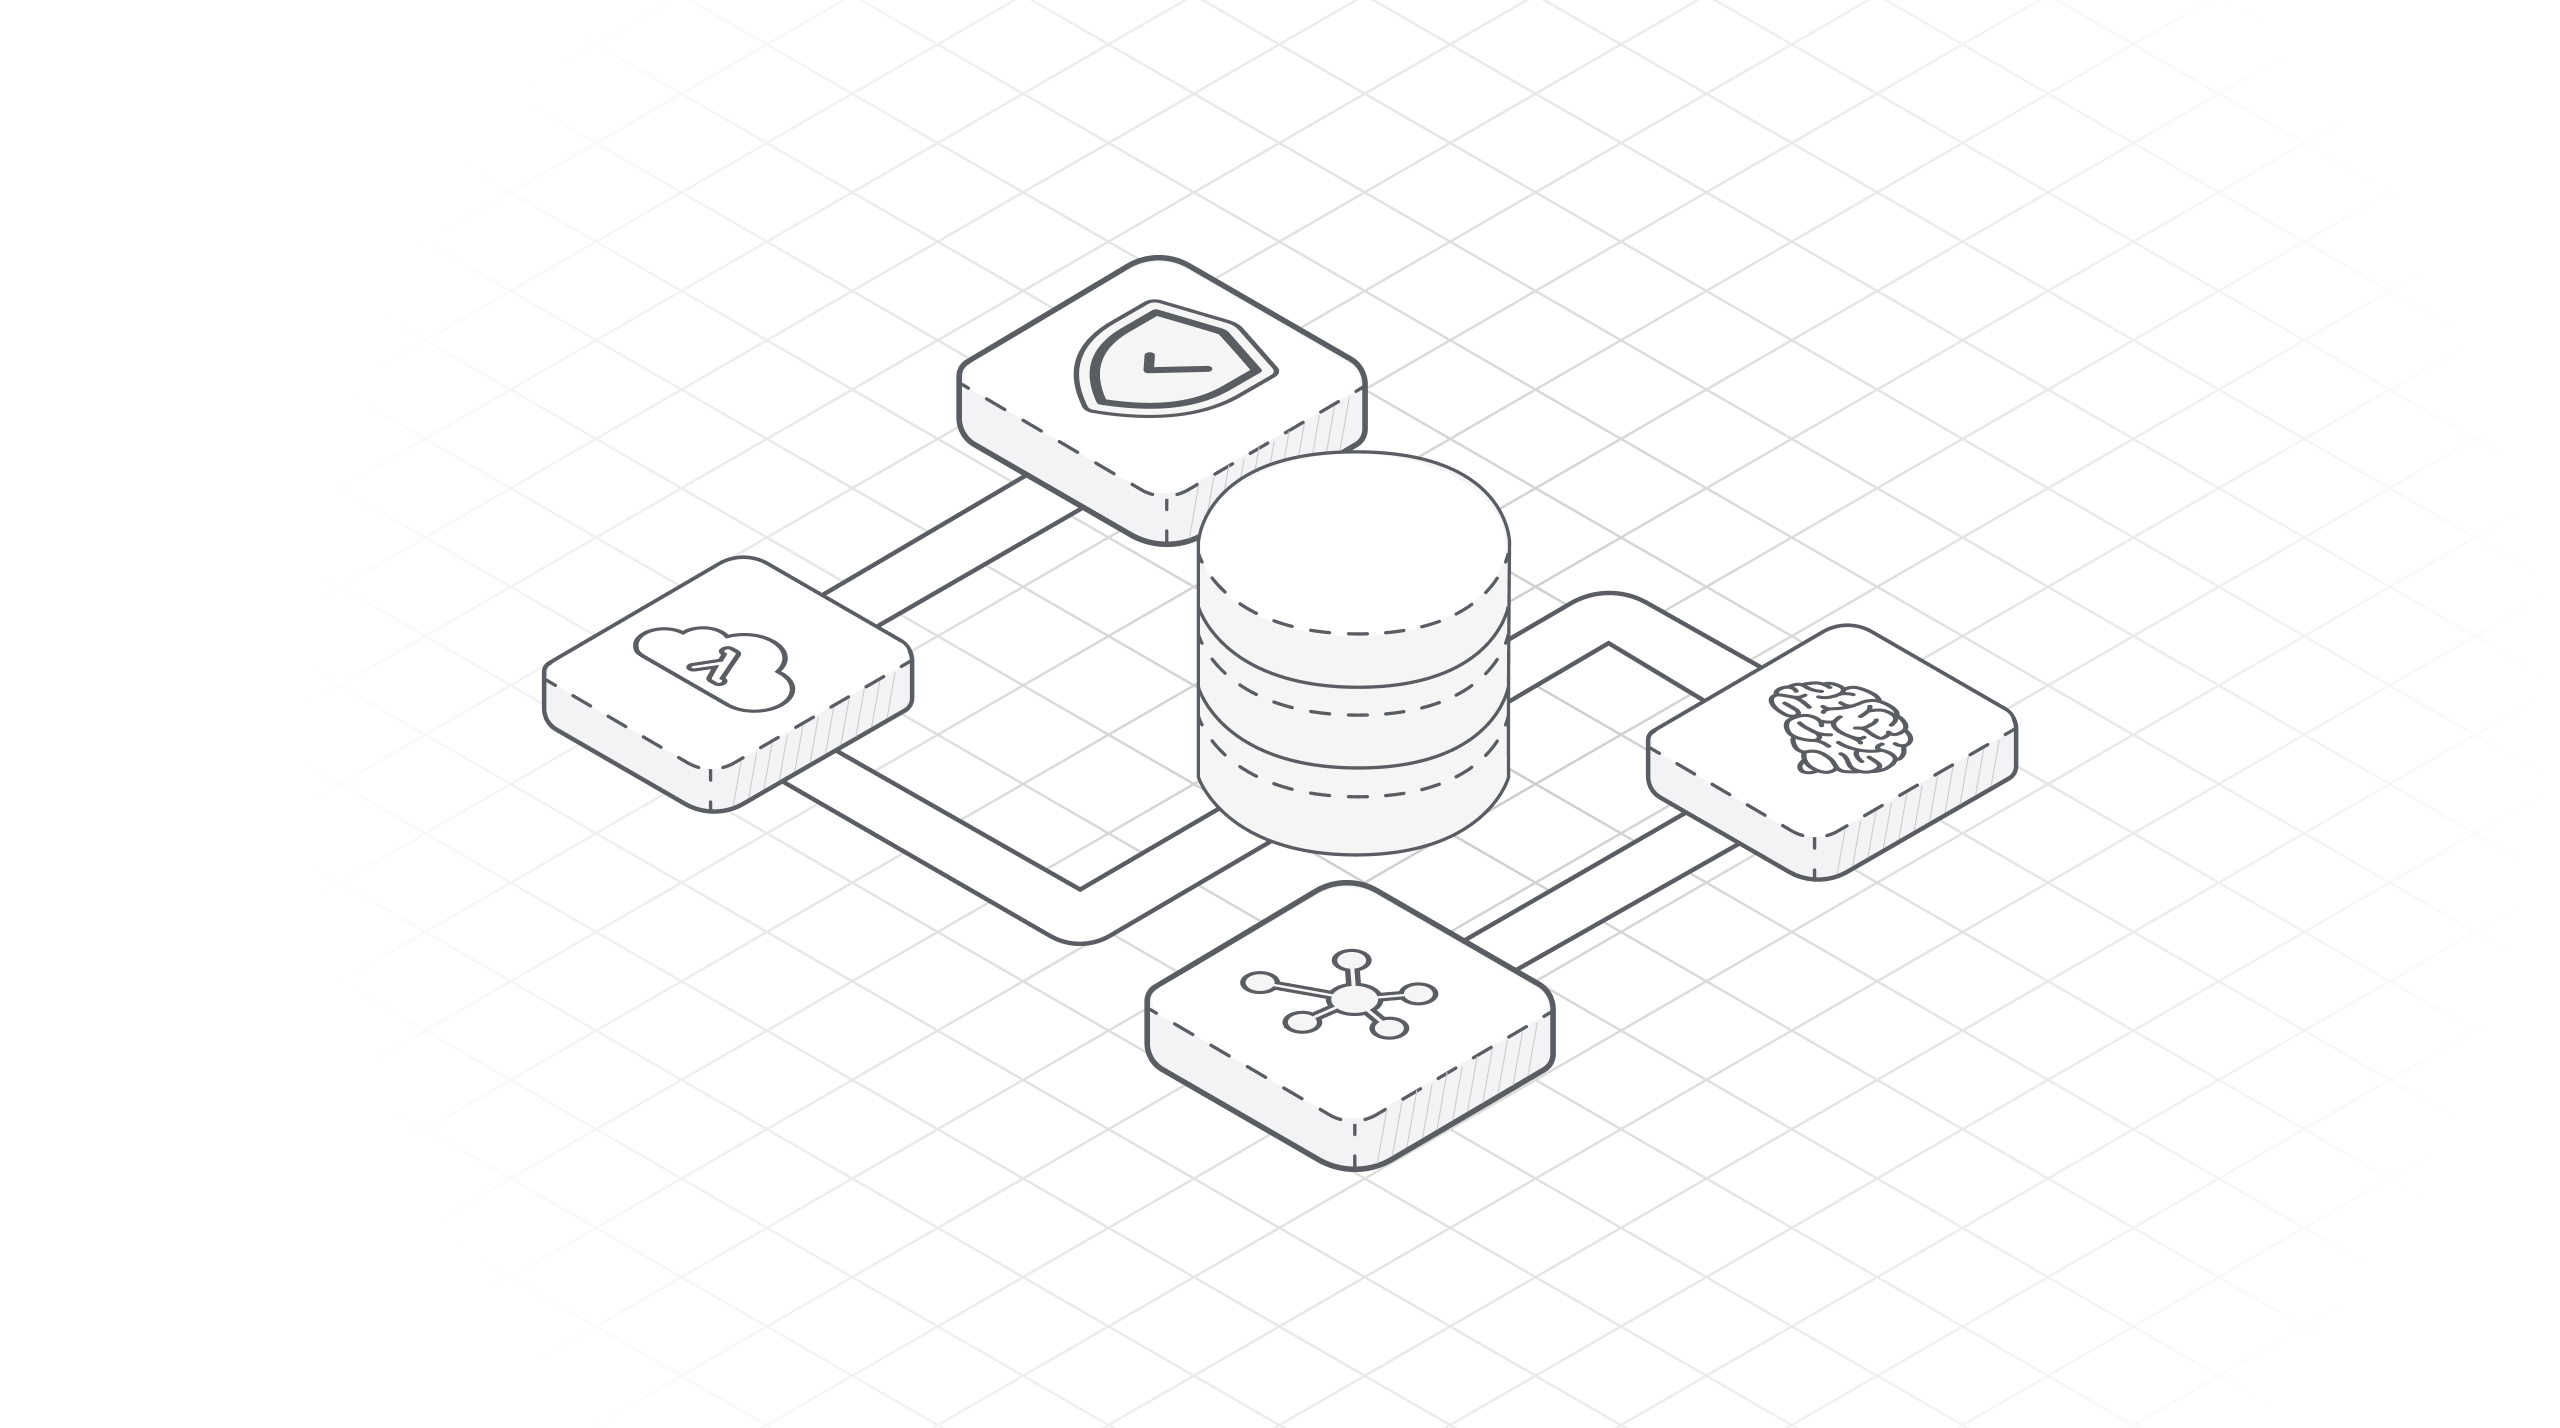
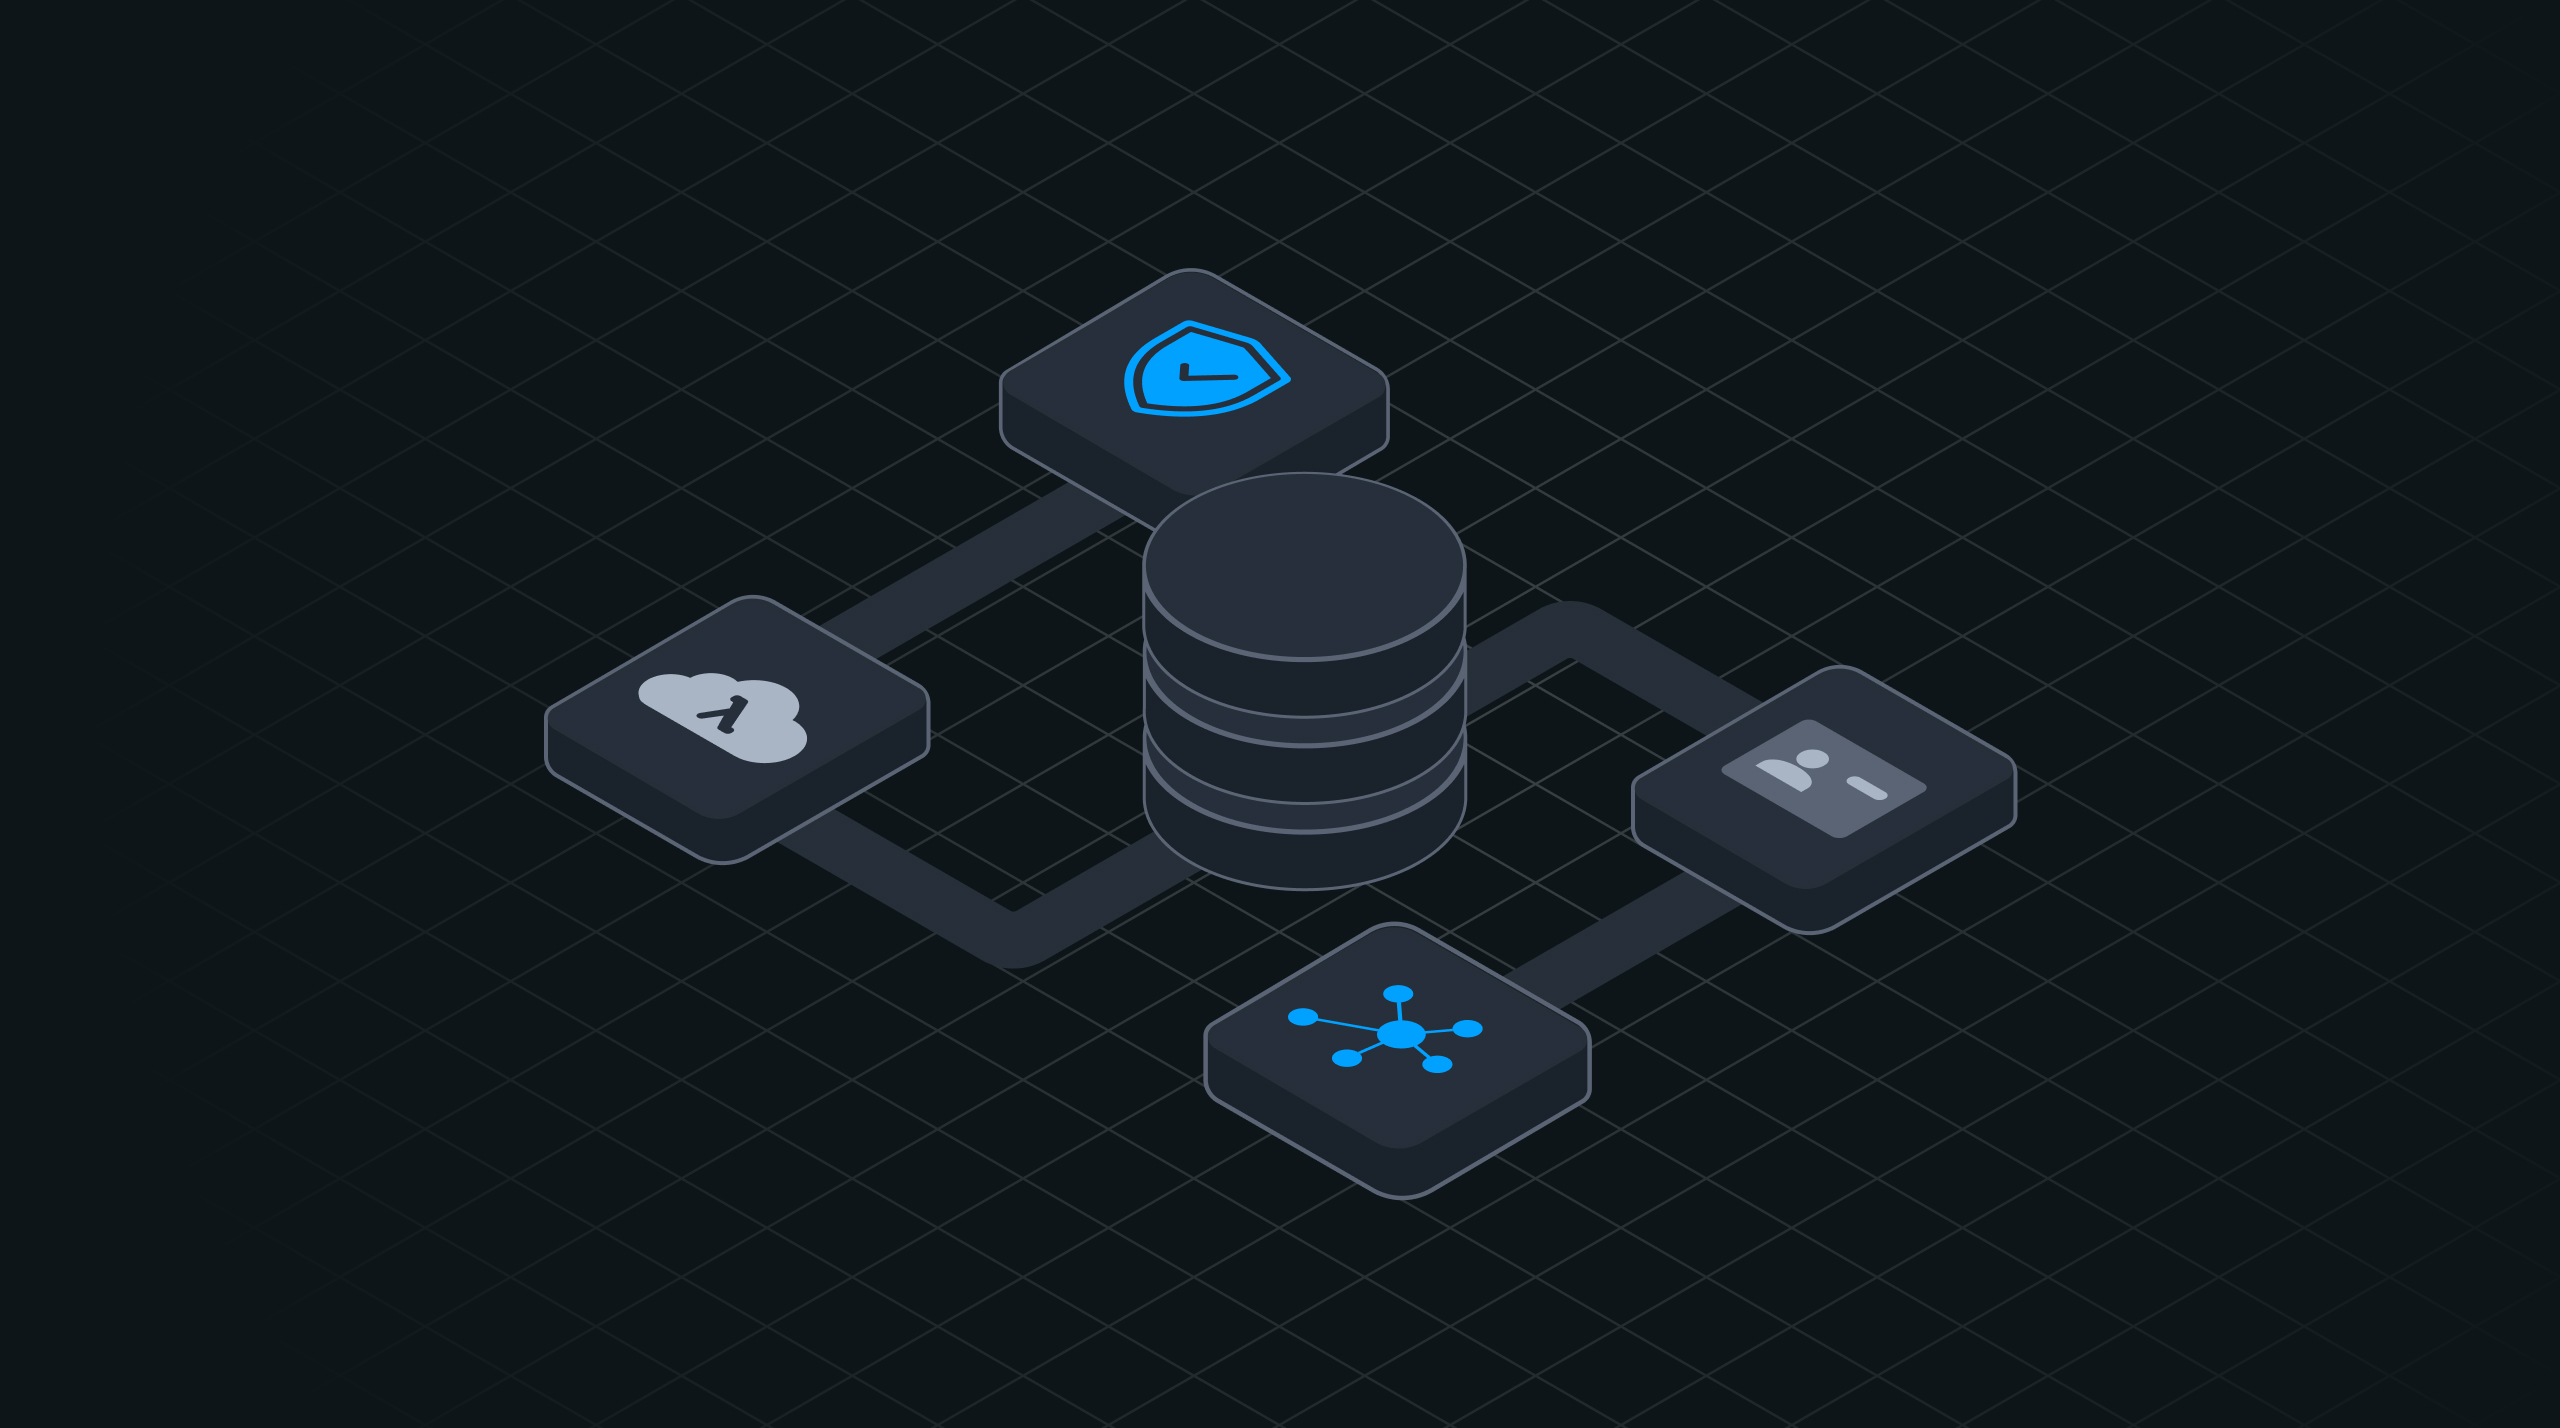
Understanding the Module System
The @pgpm/faker module you installed is a real npm package containing:
- SQL migration scripts
- Dependency declarations
- Version information
When you ran pgpm install, pgpm:
- Downloaded the package from npm
- Extracted the database module
- Placed it in
extensions/@pgpm/faker - Updated your module's dependencies
When you ran pgpm deploy, pgpm:
- Resolved the dependency graph
- Deployed dependencies first
- Deployed your module
- Tracked everything in the database
Exploring What Was Deployed
Check the migration tracking:
You'll see all deployed modules and changes.
Rolling Back (Optional)
If you want to revert everything:
pgpm runs the revert scripts in reverse order, cleanly removing all changes.
What's Next
You've experienced the install-and-deploy workflow for modular databases, but the real power comes when you start authoring your own database changes. In the next course, you'll learn how to:
- Create custom database schemas
- Add migrations with deploy/revert/verify scripts
- Manage dependencies between changes
- Build reusable database modules
Key Takeaways
- Database modules are npm packages - Install database code like frontend dependencies
- Automatic dependency resolution - pgpm deploys in the correct order
- Migration tracking built-in - Every deployment is tracked and reversible
- Zero configuration - No build tools, no manual migration management
- Fast feedback loops - From install to deployed database in seconds
The workflow you just experienced—from zero to deployed database in 2 minutes—demonstrates the power of modular databases. This same pattern scales from simple utilities to complex multi-module applications.
Ready to start building your own modules? Check out the "Modular Postgres Development with Database Packages" course to learn how to author database changes.